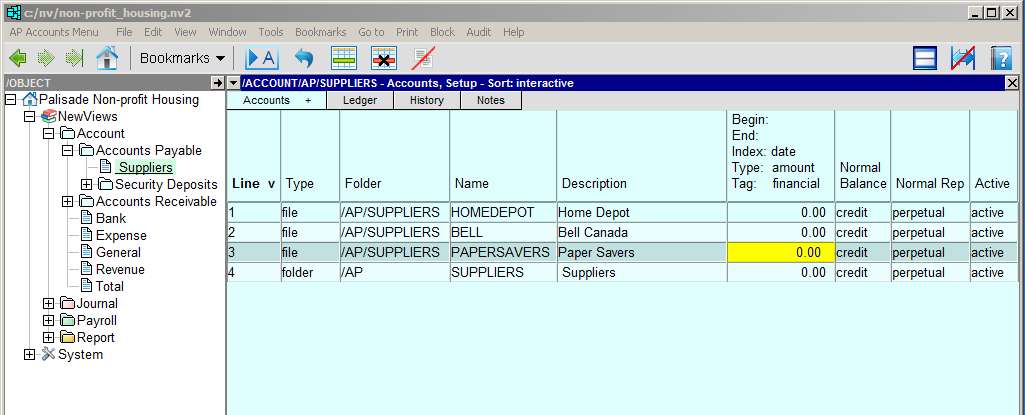
In the Database Explorer, activate (click on) Suppliers.
Suppliers can be found by expanding the following folders: NewViews/Account/Accounts Payable
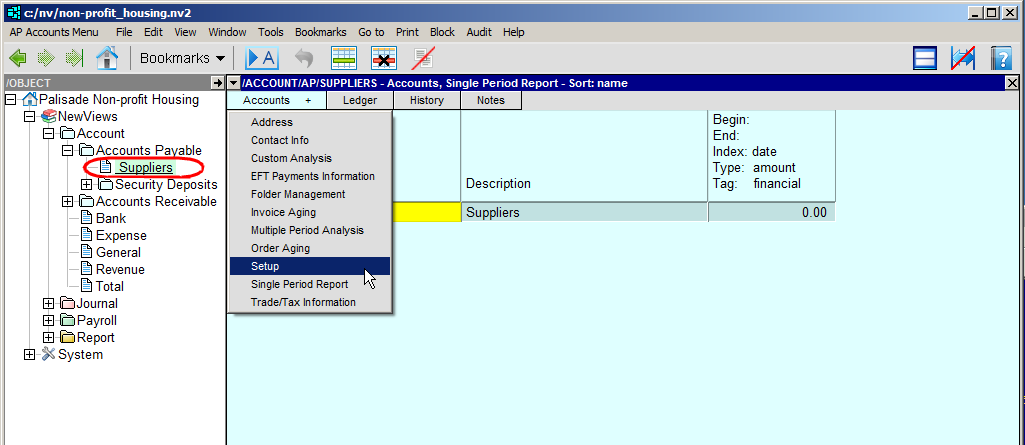
Click Accounts and choose Setup to switch to the Setup view.
Click anywhere on the account called SUPPLIERS.
Issue the command Edit Append (or press Alt-EA) to add a new row above the Suppliers account.

In the Name field, enter a name for the supplier account.
You can use any combination of letters, numbers, hyphens and underscores, and the name can be as long as you want. Account names are automatically converted to upper case characters. NOTE: You cannot have more than one supplier account with the same account name.
In the Description field, enter a description for the account (usually the supplier's company name).
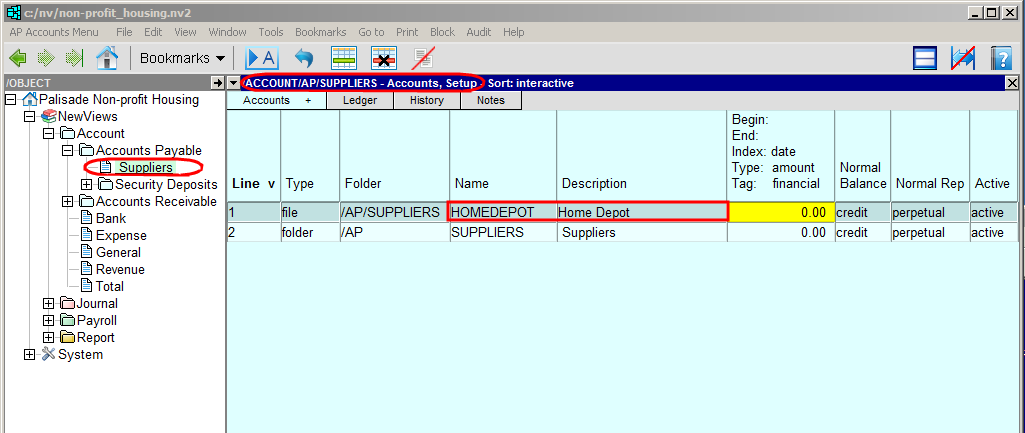
All other fields on the Setup view can be left as is.
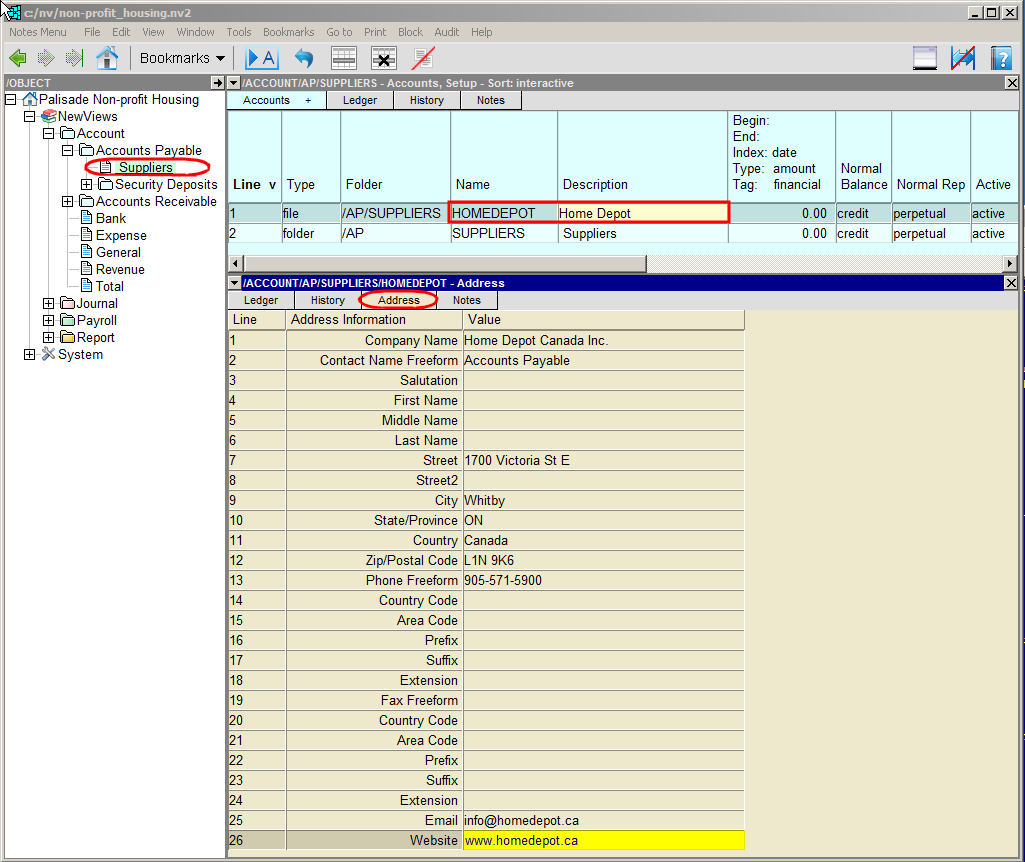
To add address/contact information, double-click anywhere on the supplier account to open the account detail window, then click the Address tab to display the Address view.
Enter the appropriate contact and address information for the supplier.
This information is used by the Tools>Pay Account to print cheques to the supplier.
To continue adding supplier accounts, return to the top window by clicking on the account you just added or by pressing F4.
Issue the command Edit Append to add a new row. Continue adding supplier accounts as described above.