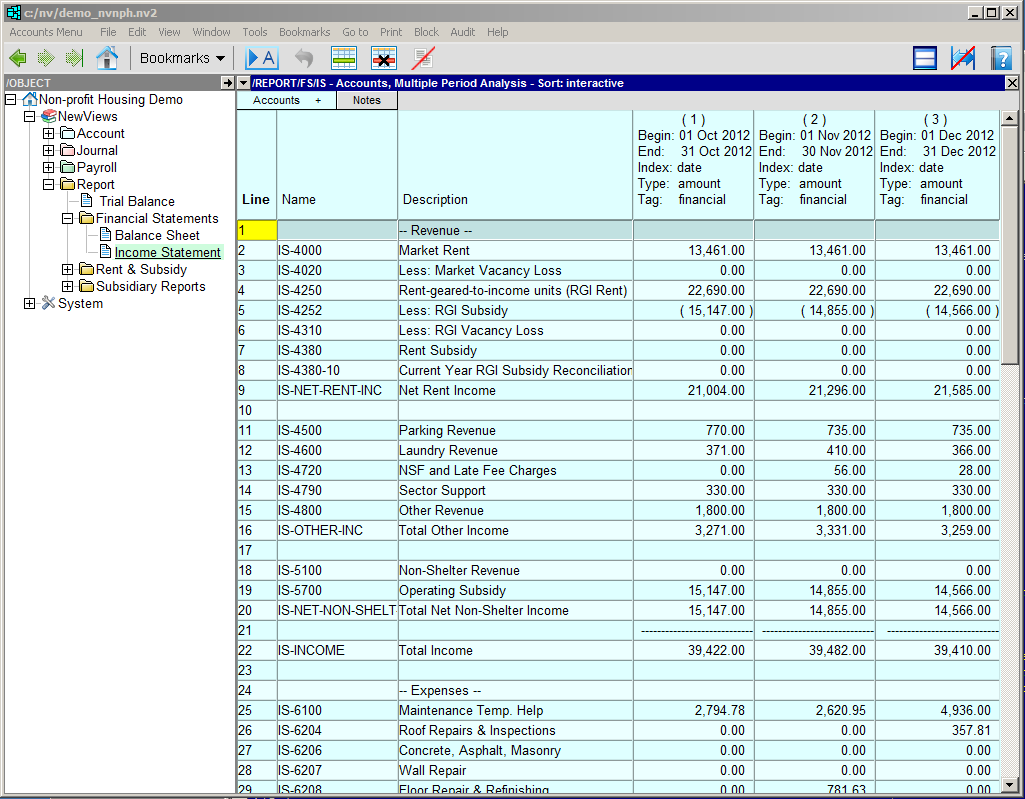
The "Multiple Period Analysis" view can display up to 366 analysis columns. You can set the date ranges, the type of amounts that are displayed, and how they are sorted.
Below we are looking at a three month comparative analysis for an income statement. The date range for the analysis is October 1, 2012 to December 31, 2012, displayed with monthly resolution. The amounts are financial amounts generated by all transactions that contribute to the account balance in the date range specified for each column (e.g. periodic amounts).
The settings for a Multiple Period Analysis can be changed as follows:
Click anywhere on the table and issue the View>Analysis>Multiple Column Setup command. The Multiple Column Setup table will be displayed.
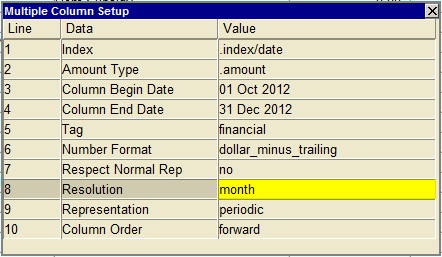
Modify the Multiple Column Setup as described below:
| Line | Data | Value | ||
| 1 | Index | 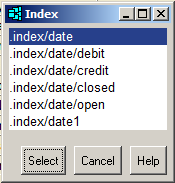 | Specifies the type of transaction used to generate analysis amounts. Press <F3> to choose one of the date indexes described below. date - selects all transactions sorted by date debit - selects only debit transactions sorted by date credit - selects only credit transactions sorted by date closed - selects only closed (reconciled) transactions sorted by date open - selects only open (unreconciled) transactions sorted by date date1 - selects only orders sorted by date | |
| 2 | Amount Type | 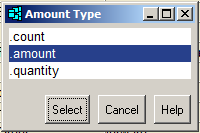 | Determines what type of amount is displayed. Press <F3> to choose one of the amount types described below. count - displays a count of the items (e.g. the number of transactions) amount - displays the currency amount quantity - displays the quantity | |
| 3 | Column Begin Date | The analysis Begin Date can be selected from a calendar by pressing <F3>. | ||
| 4 | Column End Date | The analysis End Date can be selected from a calendar by pressing <F3>. | ||
| 5 | Tag | 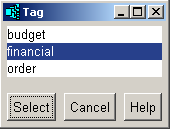 | Selects specific types of transactions (e.g. financial, budget). | |
| 6 | Number Format | Formats the amounts displayed in the report. Press <F3> to select between: dollar e.g. 1,000.00 dollar_minus_parentheses e.g. (1,000.00) dollar_minus_trailing e.g. 1,000.00- integer e.g. 1,000 integer_minus_parenthesis e.g. (1,000) integer_minus_trailing e.g. 1,000- none e.g. 1000 none_minus_parenthesis e.g. (1000) none_minus_trailing e.g. 1000- | ||
| 7 | Respect Normal Rep | If Respect Normal Rep is set to no, the amounts displayed are the sums of postings within the date range specified for the analysis, regardless of the accounts' normal representation. If this field is set to yes, the amounts that are generated include perpetual, periodic and opening balances. See Respect Normal Representation for more detail. | ||
| 8 | Resolution | 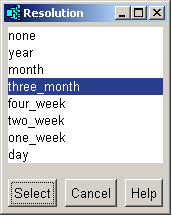 | Determines how many columns are displayed in the analysis. For example, if the Column Begin Date is January 1, 2012 and the Column End Date is June 30, 2012, a monthly resolution would generate 6 columns. Press <F3> to choose one of the resolutions described below. none - no amount columns are displayed. year - each column will be one year. month - each column will be one month. three_month - each column will be one quarter. four_week - each column will be for 28 days. two_week - each column will be for 14 days. one_week - each column will be for seven days. day - each column will be for one day. | |
| 9 | Representation | 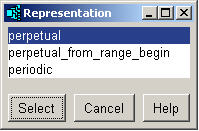 | Controls the begin date for each column in the analysis. In general, this field is set to perpetual for Balance Sheets and to periodic for Income Statements. Press <F3> to choose the representation as described below. perpetual - displays account balances on a cumulative basis, starting from date 0. perpetual_from_range_begin - displays account balances on a cumulative basis, starting from the date specified in the column begin date field. periodic - displays account balances generated by transactions in the date range set for each column. | |
| 10 | Column Order | Controls the order of the columns. Press <F3> to choose forward or reverse order. forward displays the columns from left to right in chronological order. reverse displays the columns from right to left in chronological order. | ||