Creating New Mail Merge Templates
You can create your own templates that can be merged with information from member/tenant accounts to generate
personalized forms or notices.
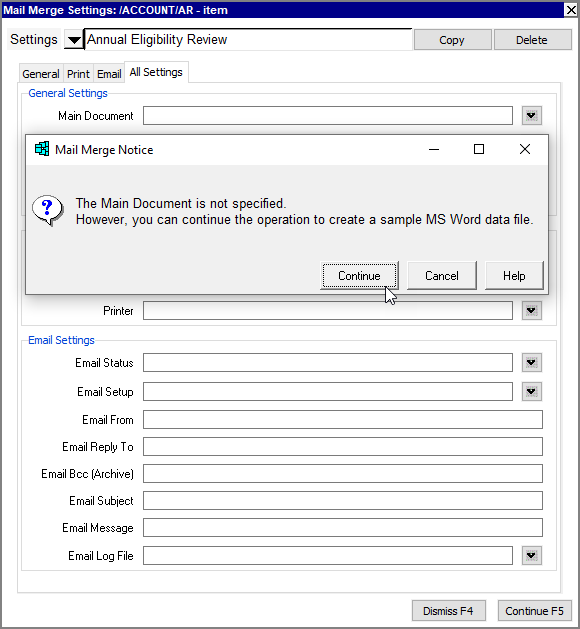
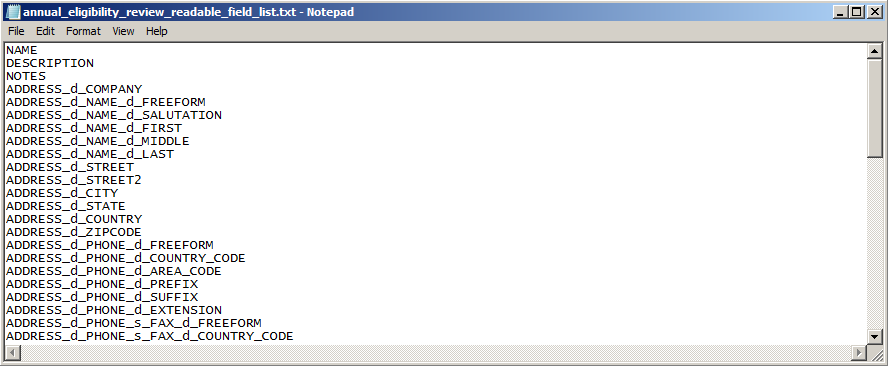
Important: In order to add merge fields to a template, you must first create a data source
file that contains the merge fields you want to insert. See Creating a Data Source File and
Merge Fields Associated With RGI Views for details.
You should store any new templates you create in the directory c:/nv/print_templates/my_templates. If NewViews for Non-Profit
Housing is installed in a directory other than nv, substitute the name of that directory in the
path above.
For instructions on creating templates with Microsoft Word 2007/2010, use this link:
For instructions on creating templates with Microsoft Word 2003, use this link:
Modifying Templates with Word 2007/2010
-
Open Microsoft Word.
-
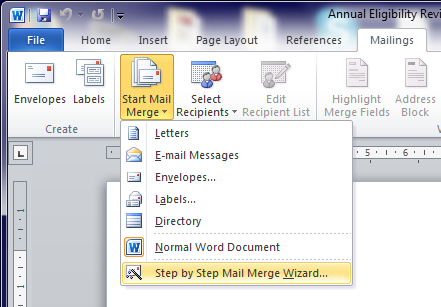
Select the Mailings tab.
-
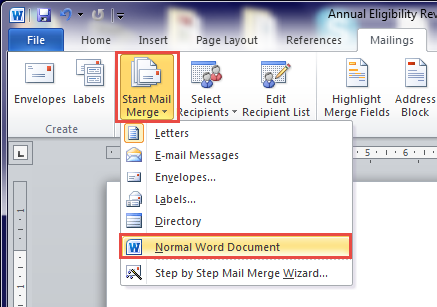
In the Mailings tab, select Start Mail Merge, then Step by Step Mail Merge Wizard.
-
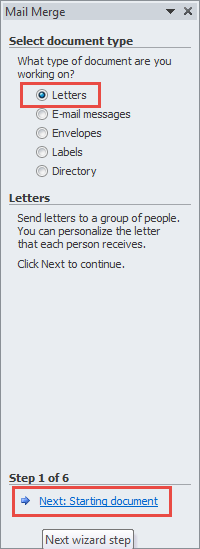
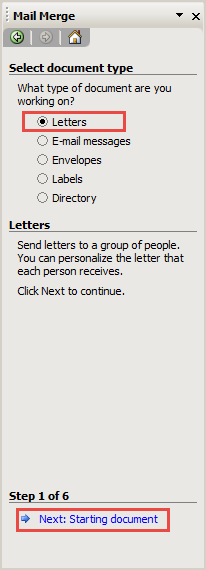
In the Mail Merge panel to the right of the document, select Letters, then Next: Starting document.
-
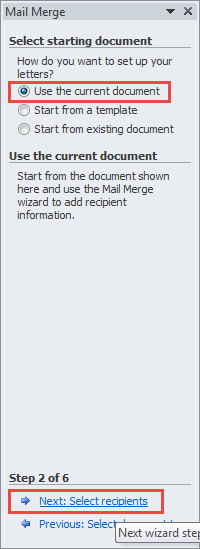
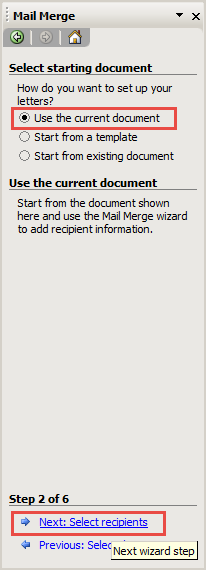
Select Use current document, then Next: Select recipients.

-
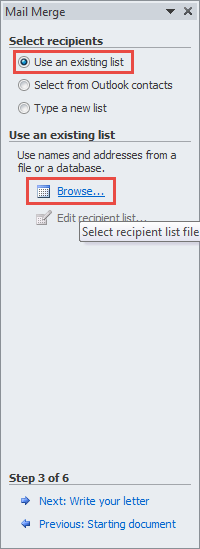
Click Browse and open the data source file that was created for use with
this template (see Creating a Data Source File).
-
If Microsoft Word asks you to confirm the data source, click Ok.
-
Close the Mail Merge panel.
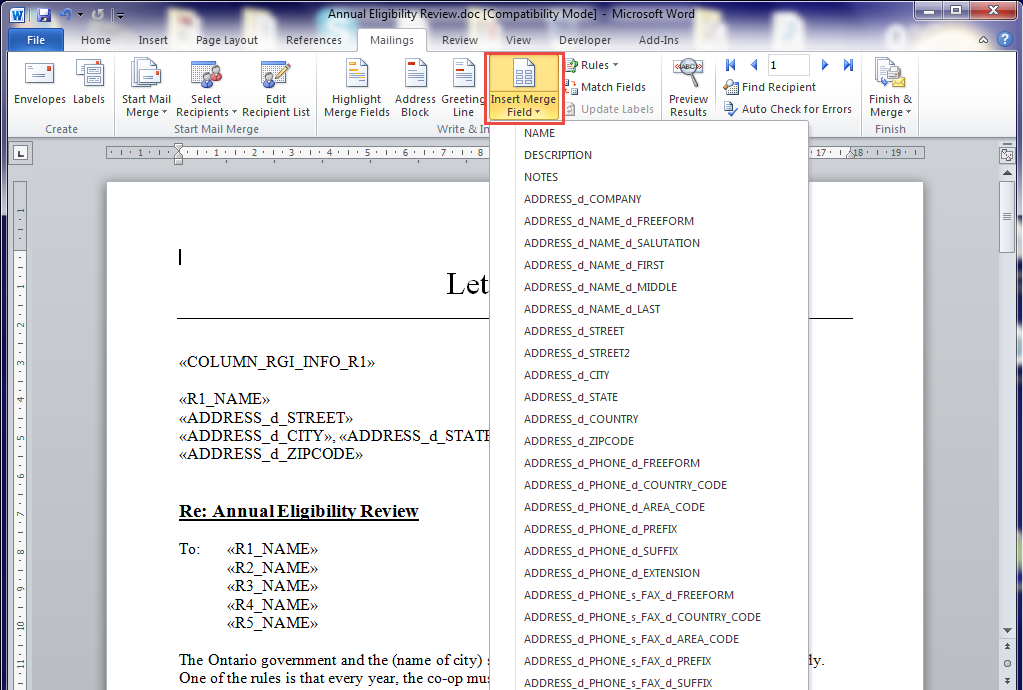
Note that the Insert Merge Field option is now active on the toolbar. You will use it to insert
merge fields into your template as you create it.
-
Format your document (e.g. set the margins, font, etc.), then start typing the standard text
that the template is to contain.
-
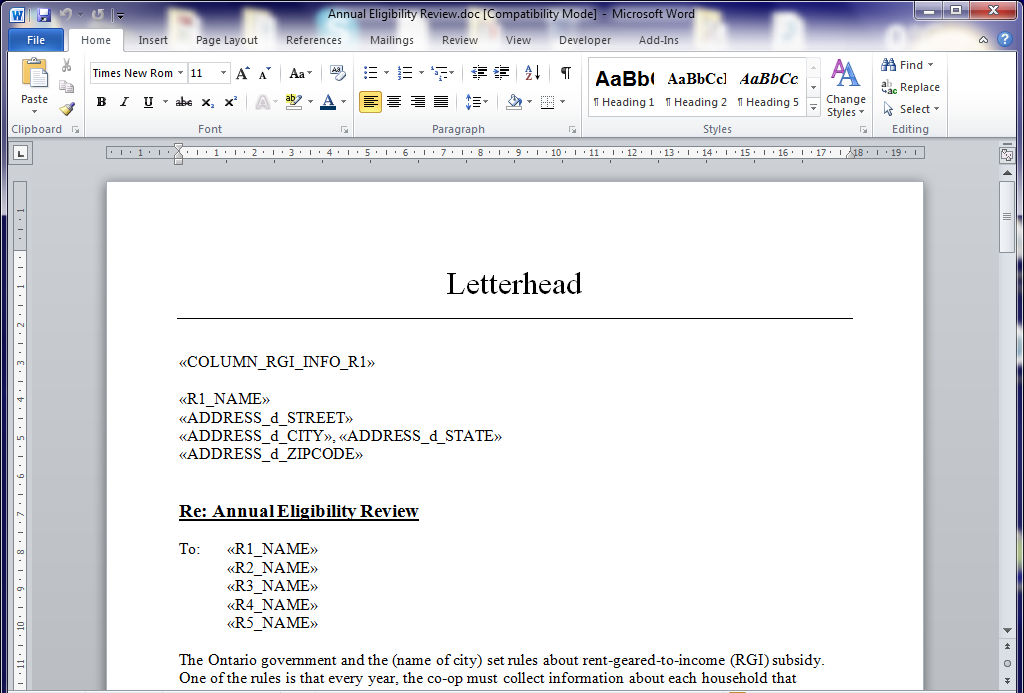
When you get to a point in the template where a merge field is to be inserted,
click Insert Merge Field on the toolbar and choose the appropriate merge
field from the drop down list.
-
Continue typing the standard text and adding merge fields as required.
-
When you are finished creating the template, you MUST change the document
to a Normal Word Document.
To do this, select Start Mail Merge, then Normal Word Document.
-
Save the document using the File>Save command.
For more information on Word's mail merge capabilities, consult Microsoft Office's help.
Creating Templates with Word 2003
-
Open Microsoft Word.
-
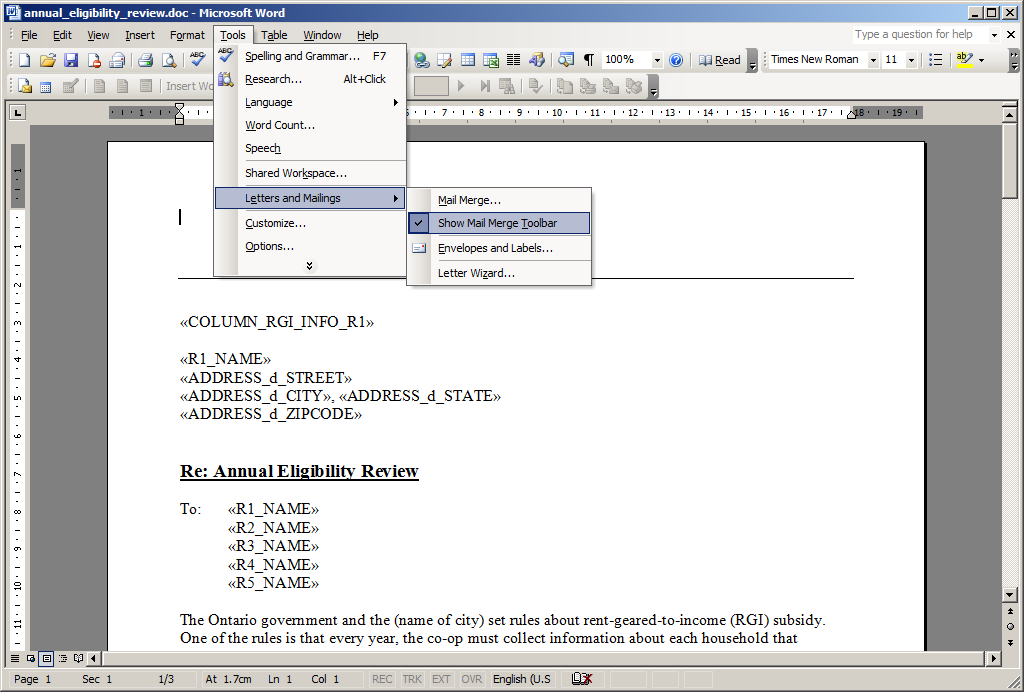
Select Tools>Letters and Mailings.
Make sure the Show Mail Merge Toolbar is turned on (i.e. a tick will be displayed to the left)
of this option.
If not, select Show Mail Merge Toolbar to turn it on, then select the
Tools>Letters and Mailings command again.
-
Choose Mail Merge.
-
In the Mail Merge panel to the right of the document, choose Letters, then Next: Starting document.
-
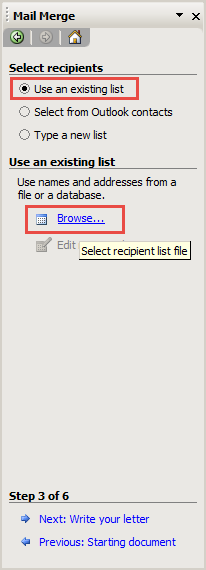
Select Use the current document, then Next: Select recipients.

-
Click Browse and open the data source file that was created for use with
this template (see Creating a Data Source File).
-
If Microsoft Word asks you to confirm the data source, click Ok.
-
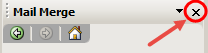
Close the Mail Merge panel.
-
Note that the Insert Merge Field icon on the Mail Merge Toolbar
is now active. You will use it to insert merge fields into your template as you
create it.
-
Format your document (e.g. set the margins, font, etc.), then start typing the standard text that
the template is to contain.
-
When you get to a point in the template where a merge field is to be inserted, click the
Insert Merge Field icon on the toolbar.
-
Highlight the merge field from the Insert Merge Field list, then click Insert.
-
Continue typing the standard text and adding merge fields as required.
-
When you are finished creating the template, you MUST change the document
to a Normal Word Document.
To do this, click the Main Document Setup icon and choose Normal Word Document.
-
Save the document using the File>Save command.
For more information on Word's mail merge capabilities, consult Microsoft Office's help.
Copyright (c) 2003-2026 Q.W.Page Associates Inc., All Rights Reserved.