Modifying Mail Merge Templates
For a description of the mail merge templates that are provided with NewViews for Non-Profit Housing,
see Sample Mail Merge Templates.
Before these templates can be used to create personalized forms or notices for members/tenants,
they should be customized for your specific needs. This could include:
-
Adding your logo and/or organization name.
-
Reformatting the document to suit your preferences and/or fit your letterhead.
-
Changing the wording of the form/notice.
-
Adding any additional merge fields that are required and/or removing those that are not needed.
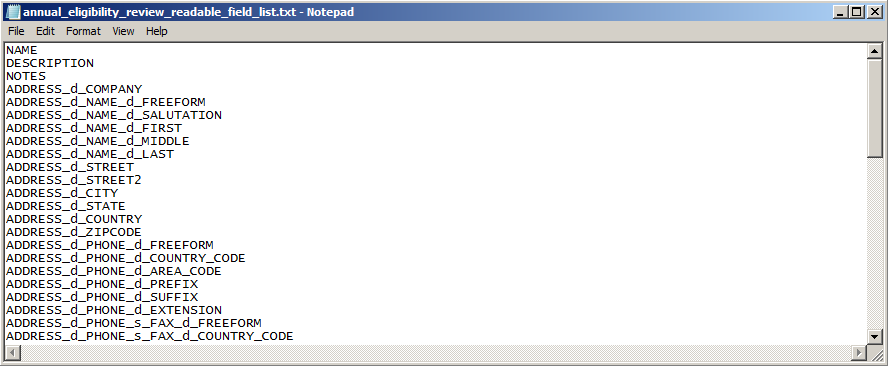
Important: If you plan on adding merge fields to a template, you must first create a data source
file that contains the merge fields you want to add.
See Creating a Data Source File and
Merge Fields Associated With RGI Views for details.
Sample templates are stored in the directory c:/nv/print_templates/my_templates. If NewViews for Non-Profit
Housing is installed in a directory other than nv, substitute the name of that directory in the
path above.
Note: Backup copies of the templates are stored in the directory c:/nv/print_templates/mail_merge. If you
need to restore a backup copy of a template for any reason, copy it from this directory to the
c:/nv/print_templates/my_templates directory before making any changes to it.
For instructions on modifying templates with Microsoft Word 2007/2010, use this link:
For instructions on modifying templates with Microsoft Word 2003, use this link:
Modifying Templates with Word 2007/2010
-
Open Microsoft Word.
-
Use the File>Open command to navigate to the c:/nv/print_templates/my_templates directory and
open the template you want to modify.

-
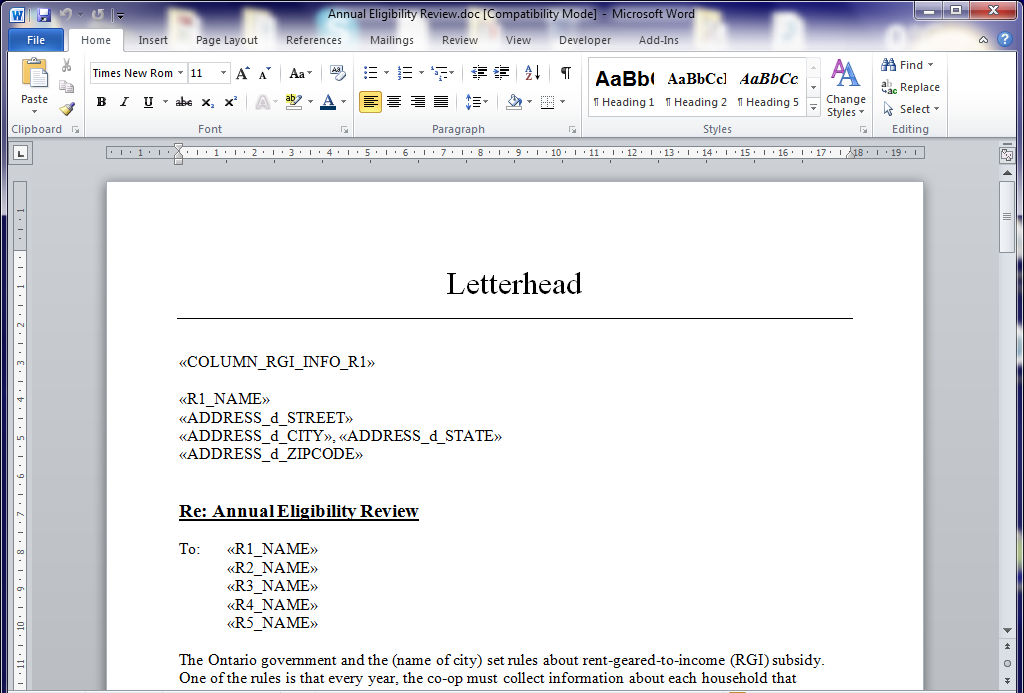
Make the required changes to the text and layout of the document. For example, you may want to:
-
Add your logo and the name of your housing complex at the top of the document.
-
Edit the text in the body of the document to suit your specific needs.
-
Delete any merge fields you don't need. To do this, highlight the merge field and press <Del>.
-
Change the font size or font type.
-
Modify the margins to fit your letterhead.
-
If you DON'T need to add any new merge fields to the template, simply use the
File>Save command to save the document once you are done making your changes.
If you DO need to add additional merge fields, follow the steps below.
-
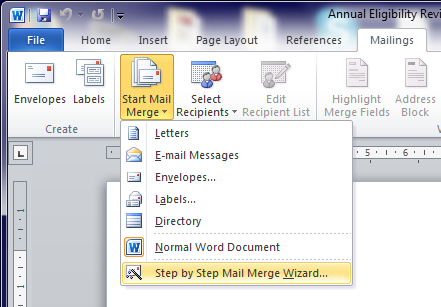
Select the Mailings tab.
-
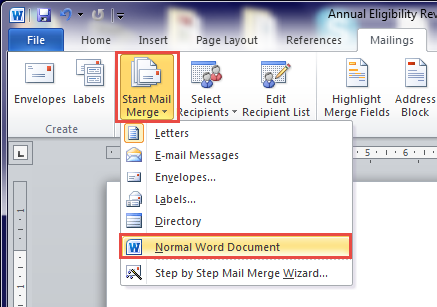
In the Mailings tab, select Start Mail Merge, then Step by Step Mail Merge Wizard.
-
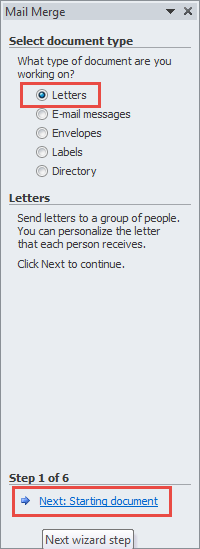
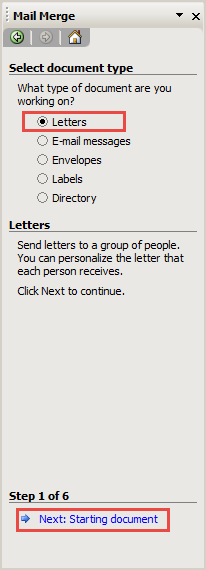
In the Mail Merge panel to the right of the document, select Letters, then Next: Starting document.
-
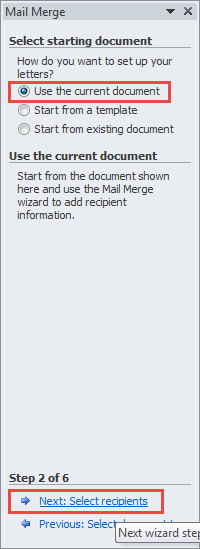
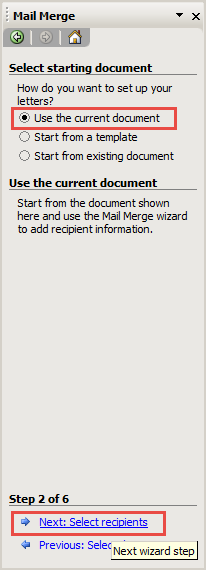
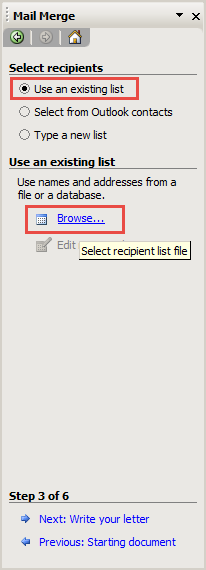
Select Use current document, then Next: Select recipients.

-
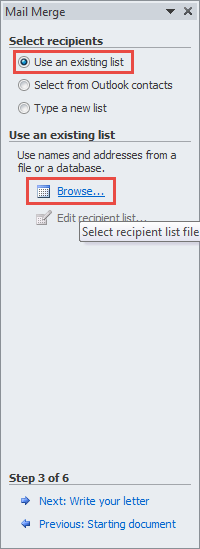
Click Browse and open the data source file that was created for use with
this template (see Creating a Data Source File).
-
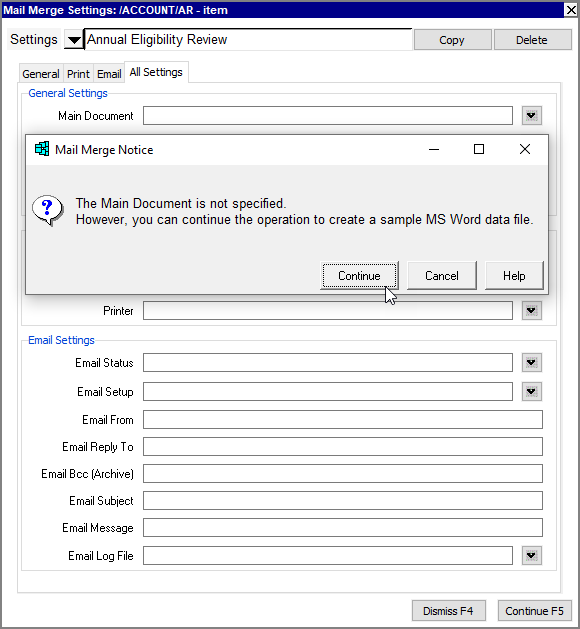
If Microsoft Word asks you to confirm the data source, click Ok.
-
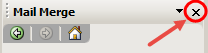
Close the Mail Merge panel.
-
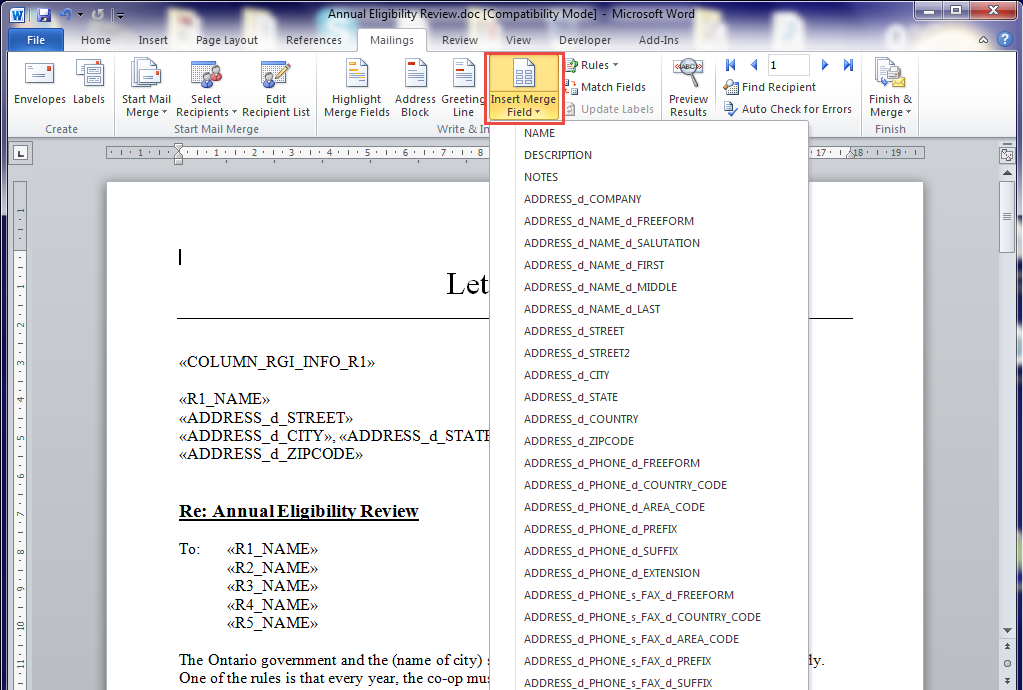
Ensure that you are still on the Mailings tab. The Insert Merge Field option
should now be accessible.
-
Position the cursor where the merge field is to be inserted in the template, then
click Insert Merge Field to choose the merge field from a drop down list.
-
Continue adding merge fields as required.
-
When you are finished modifying the template, you MUST change the document
to a Normal Word Document.
To do this, select Start Mail Merge, then Normal Word Document.
-
Save the document using the File>Save command.
For more information on Word's mail merge capabilities, consult Microsoft Office's help.
Modifying Templates with Word 2003
-
Open Microsoft Word.
-
Use the File>Open command to navigate to the c:/nv/print_templates/my_templates directory and
open the template you want to modify.

-
Make the required changes to the text and layout of the document. For example, you may want to:
-
Add your logo and the name of your housing complex at the top.
-
Edit the text in the body of the document to suit your specific needs.
-
Delete any merge fields you don't need. To do this, highlight the merge field and press <Del>.
-
Change the font size or font type.
-
Modify the margins to fit your letterhead.
-
If you DON'T need to add any new merge fields to the template, simply save the document
using the File>Save command once you are done making your changes.
If you DO need to add additional merge fields, follow the steps below.
-
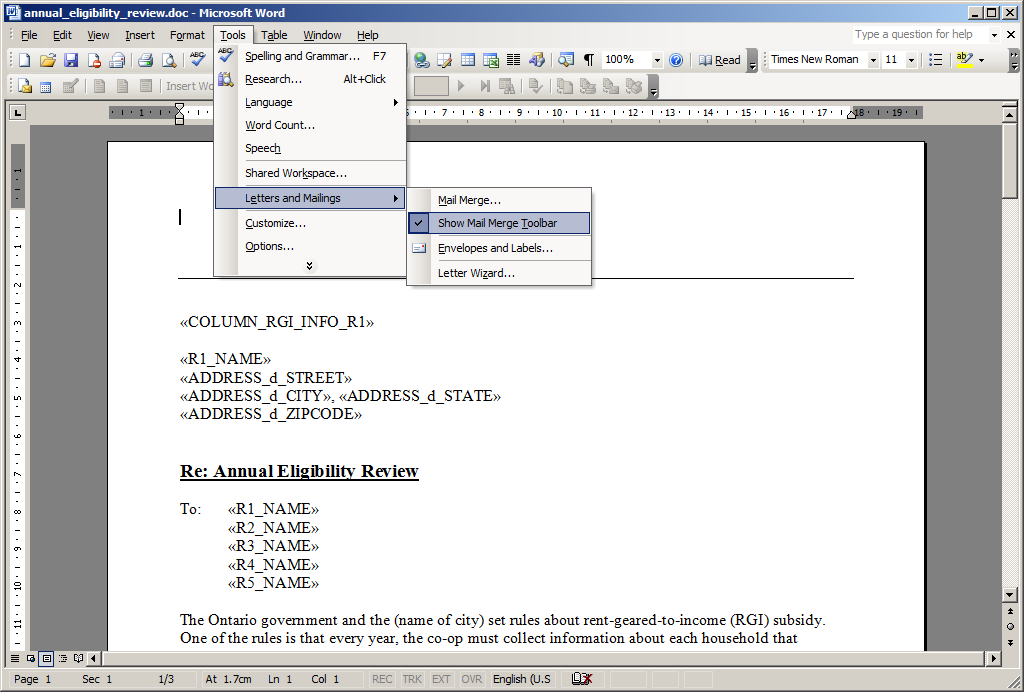
Select Tools>Letters and Mailings.
Make sure the Show Mail Merge Toolbar is turned on (i.e. a tick will be displayed to the left)
of this option.
If not, select Show Mail Merge Toolbar to turn it on, then select the
Tools>Letters and Mailings command again.
-
Choose Mail Merge.
-
In the Mail Merge panel to the right of the document, choose Letters, then Next: Starting document.
-
Select Use the current document, then Next: Select recipients.

-
Click Browse and open the data source file that was created for use with
this template (see Creating a Data Source File).
-
If Microsoft Word asks you to confirm the data source, click Ok.
-
Close the Mail Merge panel.
-
The Insert Merge Field icon on the Mail Merge Toolbar
should now be active.
-
Position the cursor where the merge field is to be inserted in the template, then
click the Insert Merge Field icon.
-
Highlight the merge field from the Insert Merge Field list, then click Insert.
-
Continue adding merge fields as required.
-
When you are finished modifying the template, you MUST change the document
to a Normal Word Document.
To do this, click the Main Document Setup icon and choose Normal Word Document.
-
Save the document using the File>Save command.
For more information on Word's mail merge capabilities, consult Microsoft Office's help.
Copyright (c) 2003-2026 Q.W.Page Associates Inc., All Rights Reserved.