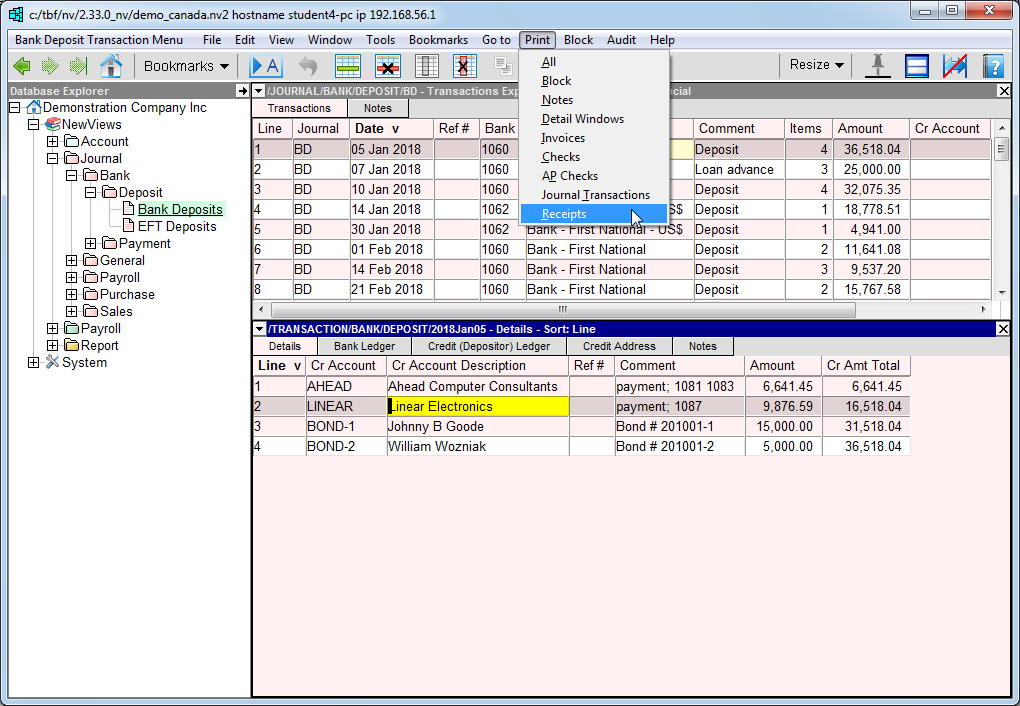
Navigate to one of the journals or ledgers identified above (i.e. bank deposit journal, bank ledger, general journal, general ledger or AR ledger).
Position on the transaction or distribution item for which a receipt is to be printed. To print more than one receipt, use the Block>Start and Block>End commands to mark the items in a block.
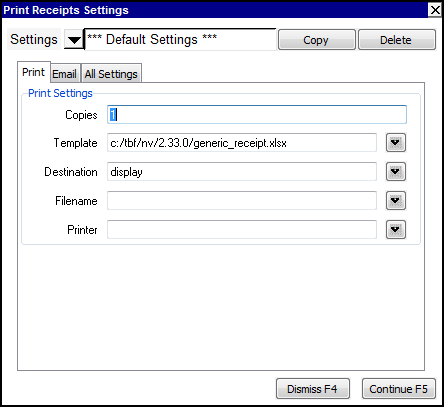
Issue the Print>Receipts command and fill out the prompt as follows:


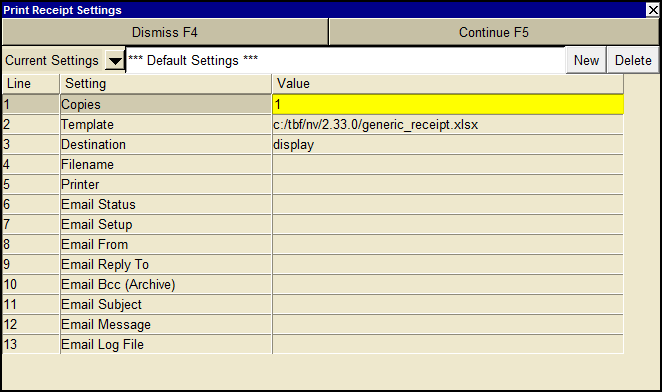
| Print Receipt Settings | |||
| Line | Field | Comments | |
| 1 | Copies | The number of copies to be printed. | |
| 2 | Template | The template to be used to print the receipts(s). Press <F3> to select the template from an explorer (double click to select). Receipt templates supplied with NewViews contain the word "receipt" in their names. For example, "generic_receipt.xls". | |
| 3 | Destination | display file printer | display - exports to Excel and opens Excel for a preview. email - creates an email file for attachment. file - sends output to the file specified in Filename. printer - sends output to the printer identified by Printer. |
| 4 | Filename | The output file name. The file type must be {".xls"}, {".xlsx"}, {".xlt"} or {".pdf"}. Important see note on Output File Names options. | |
| 5 | Printer | If Destination is printer then output is sent to the printer specified here. If this field is empty then output will be sent to the Windows default printer. Press <F3> to select from a list of available printers. NOTE: To clear the Printer field Press <F3> to select from the list of printers, and click on <Cancel> | |
| 6 - 13 | Email | See email Print Settings for more. | |
Click the <Continue F5> button to print the receipt(s).