Many NewViews commands launch a window to control options, and when you have the options just right you press the "do it" button (e.g. the "Continue" button, the "Post" button, etc.).
Examples of when option control windows appear:
We show an example below and demonstrate how you manage multiple option setups.
NOTE: This example was picked at random, since all option control windows behave exactly the same way.
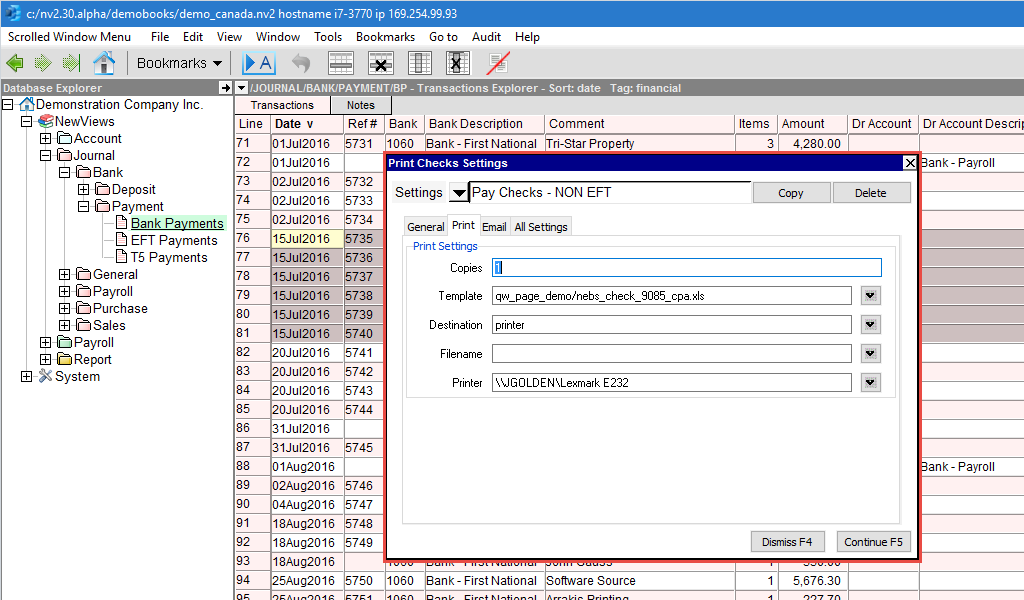
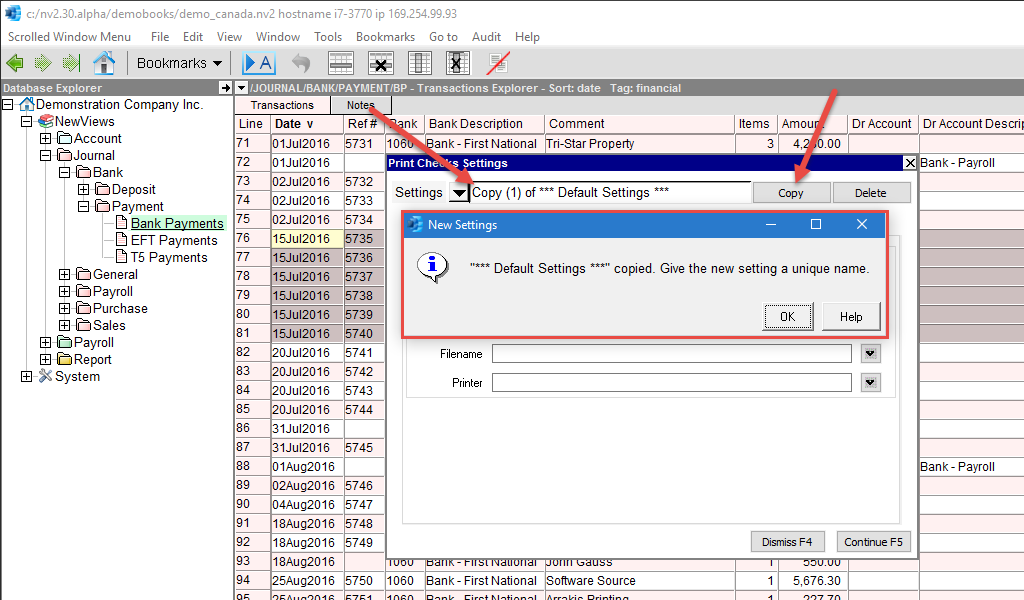
Shown below is a control window that appears when the command Print>Checks is issued.
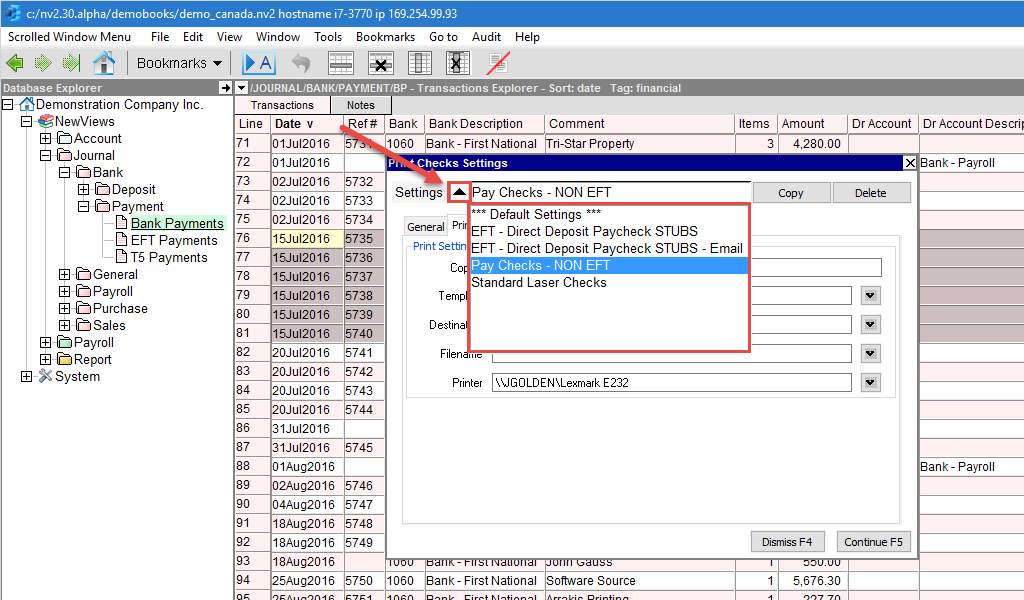
Notice the pull down button (highlighted below). This is how you select options to edit/use.
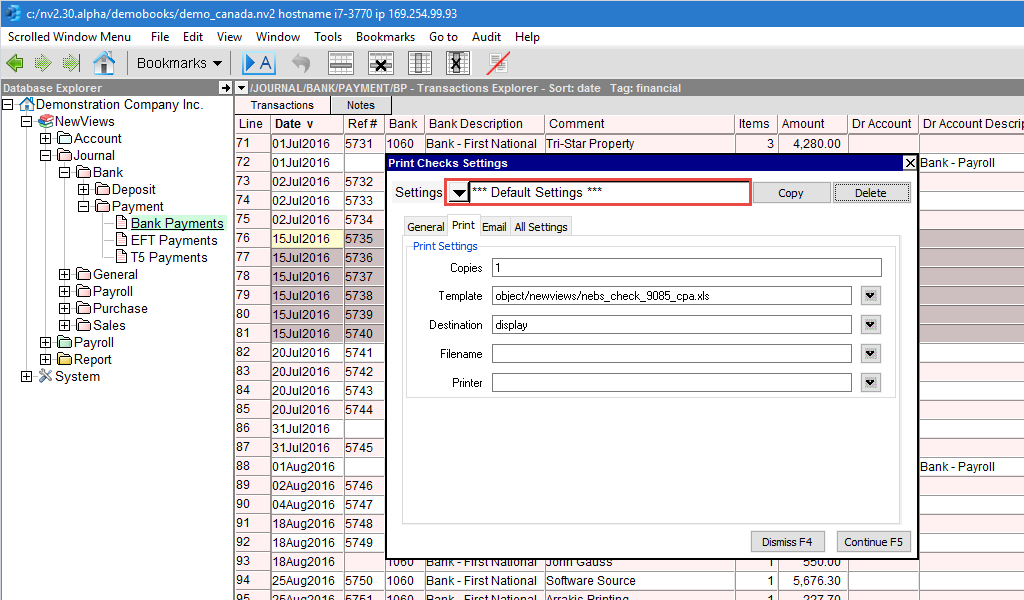
To add a new option setup you can press the Copy button to copy the current options, or you can switch to the *** Default Settings *** first and copy that to start from scratch.
NOTE: You can edit the *** Default Settings *** to provide a common starting point for your particular needs.
Notice the Copy button highlighted below, and the prompt that appears to notify you the create and copy operation is complete. Remember to give the options an new name, and edit then edit the options as required.
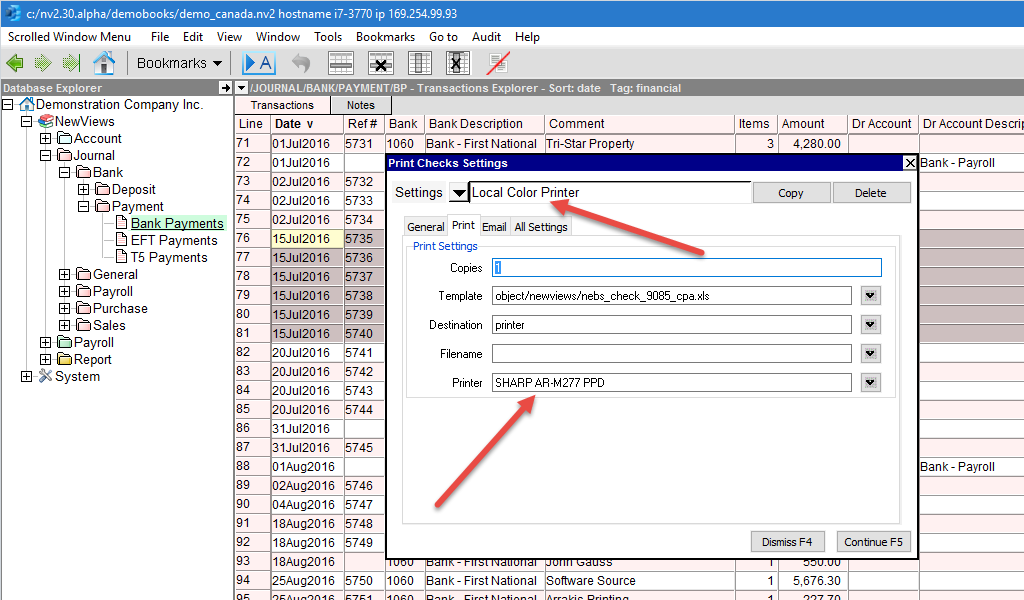
Shown below is the result after naming the new options "Local Color Printer" and selecting a new printer.
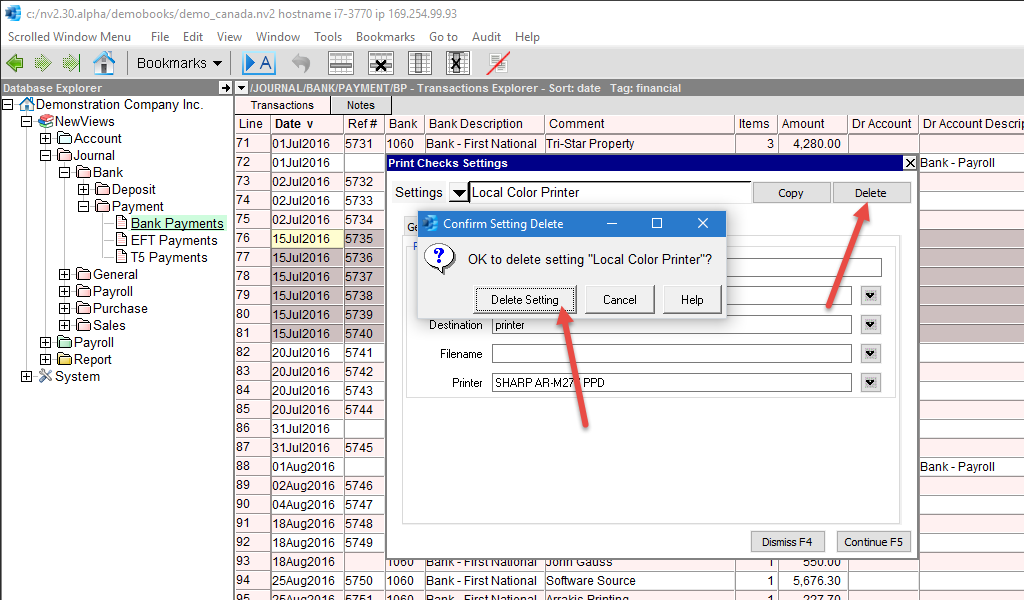
Deleting an options setup is straightforward, and an example is shown below. Select the option to delete from the pull-down list of choices, and press the Delete button.