Allocations are a general purpose mechanism that let you allocate individual transaction details (line items) for a wide variety of purposes. In this documentation we demonstrate allocating transactions to projects.
To add a new project:
decide what kind of transactions will affect the project
determine which journals will be involved
add the project name to the list of allocation tags for each journal
That's it. Transaction detail items can be allocated to the project by tagging them with the project name.
Note: You don't need to add any new reports or accounts in order to use allocations. You use existing reports and accounts and simply select the allocation(s) you want reported when you configure columns. So, for example, you only need one sales account for each product, and one expense account for each expense category.
When you create a new set of books there are no allocation tags. If you don't need to allocate to projects, funds, activities, etc., then simply don't add any allocation tags.
The rest of this section on allocations assumes that you will need to allocate transactions. If you don't need them then you can skip the rest of this section. However, there is one thing you should still know. Although you may have no need for allocations now, you may need them in the future if the size and scope of your organization changes. NewViews anticipates this by letting you get started now, without allocations, and then add the allocation tags later if the need arises.
The only thing you have to do in order to use allocations is to add allocation tags to the set of books, giving them appropriate values. For example, if you intend to manage three projects, you might add three allocation tags, named p1, p2, and p3, or any other suitable values that are easily identified when adding transactions and configuring report columns. See Tag Name Protocols for more.
To add a new allocation tag, do the following:
Switch to the Allocation Tags view.
The names of the tags you add will appear in the journal table's list of active or inactive tags.
Since allocation tags are commonly used by many journals, it's convenient to enter a set of tags once for one journal and then copy some or all of them to the remaining journals. In the example below, we added tags to a Purchase Order journal and we want to copy them to the Purchase Invoice journal.
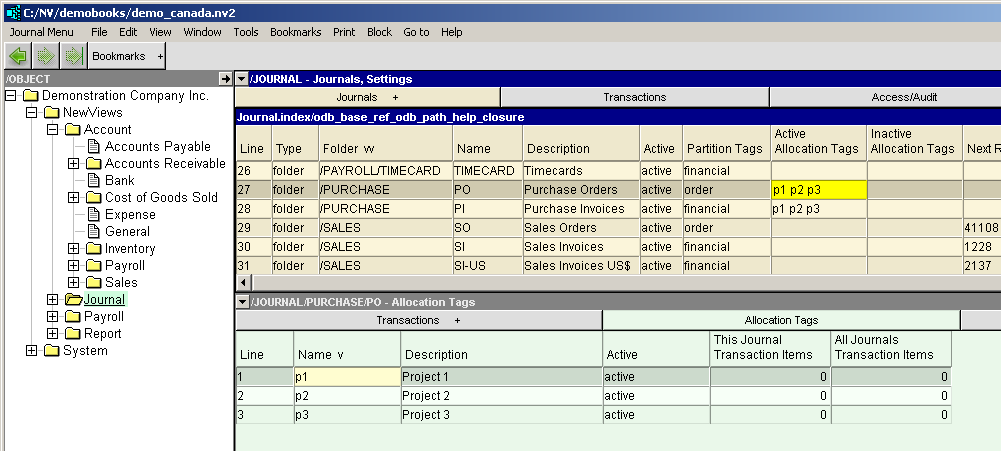
Shown below is a purchase order journal with three tags for three projects, and we're about to execute a Block>All command.
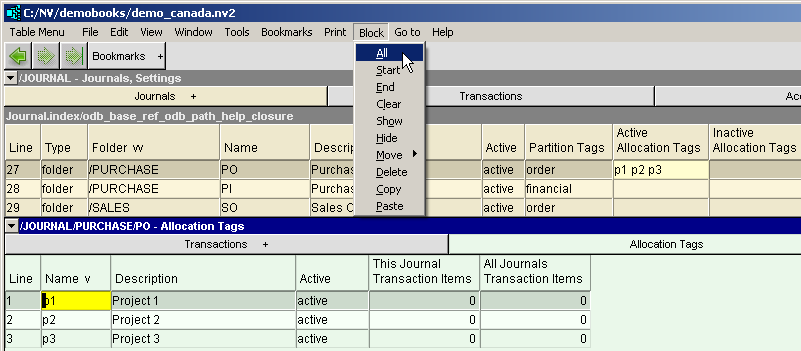
Shown below is the result of a Block>All command, and we're ready to execute a Block>Copy command to copy the block of tags.
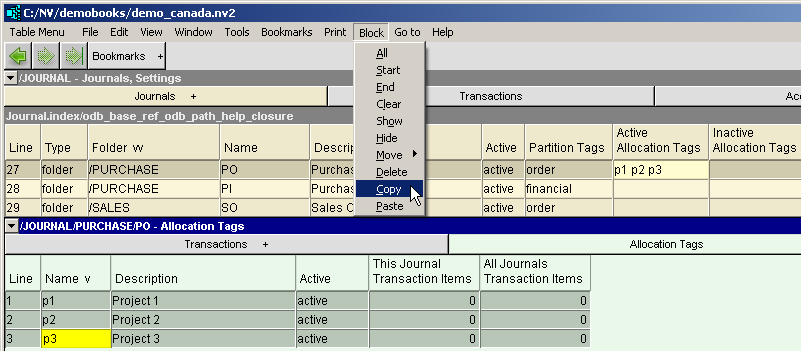
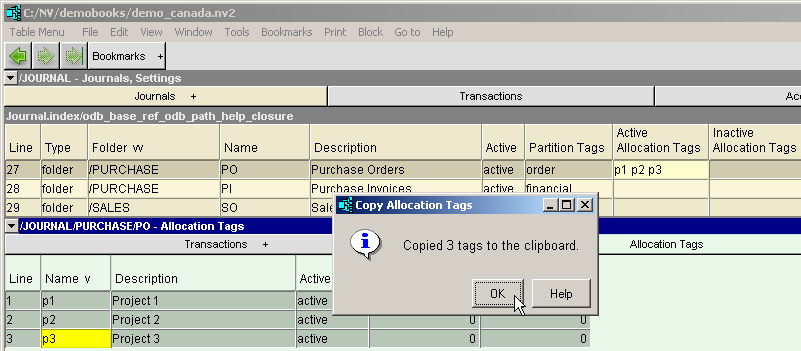
Shown below is the result of a Block>Copy command. You are notified that copies of the tags selected are in the clipboard, ready to paste.
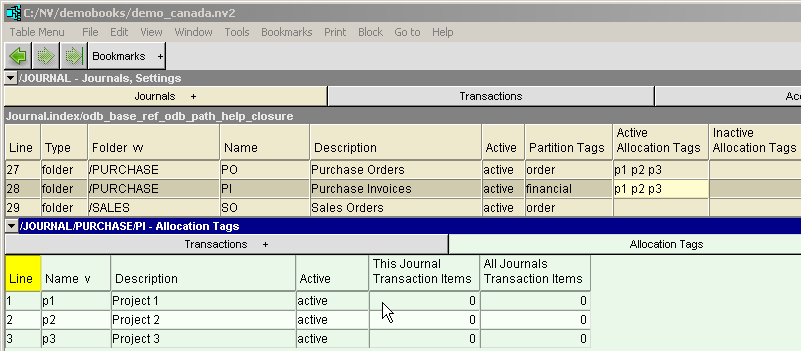
Shown below is the result of activating the destination Purchase Invoice journal, and we're ready to Block>Paste the tags.
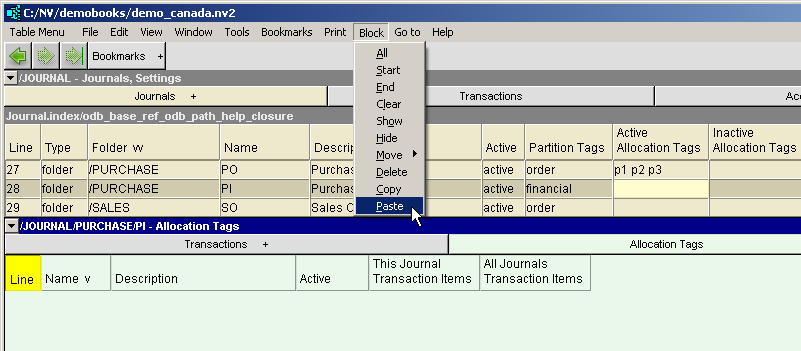
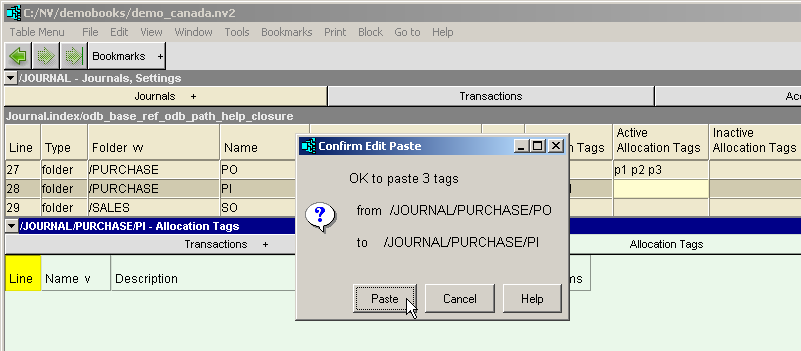
Shown below is the result of a Block>Paste command. You are asked to confirm the operation.