Show below is an example of how a transaction portion can be allocated with allocation tags.
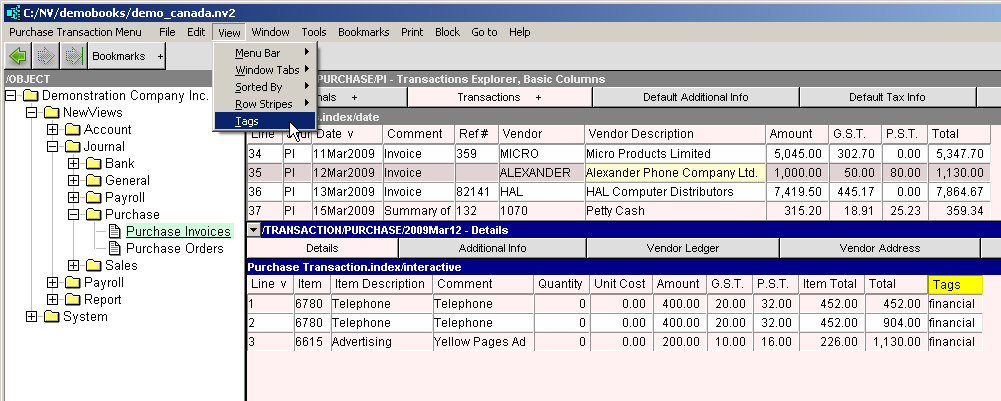
The View>Tags is used to add the Tag column to a Journal's Details table.
Shown below is the window that pops up when you press <F3> to select an allocation tag. Notice the tags column has moved from the position shown above (where the command simply appended the column). Remember that columns can be moved by holding down the <Ctrl> key and pressing the left or right arrow keys.
We suggest that the column be placed immediately to the right of the Item or Item Description columns. It makes sense to think of an allocation tag as being part of the account selection process (i.e. pick an account, then pick a project).

You don't have to pick an allocation tag. You can instead just type the allocation tag name (in this example "p2"). NewViews will assemble and echo the complete list of paths.
To replace a project tag, just select or over type a new one. To add a second tag, edit the value already present to manually append. (i.e. Press <Esc> to begin a field edit, press <End> to position to the end, and type <space> followed by the extra tag(s)).
Finally, you can use Tools>Fill Column to set the tags for all selected items in a single command.