Start by opening Microsoft Word
Click on File>Open and select qw_professional_letter.doc
In the current document select the Mailings Tab
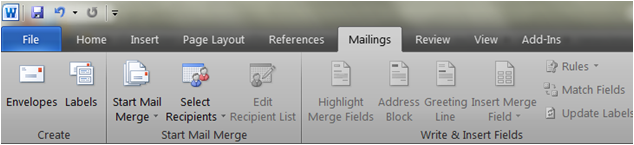
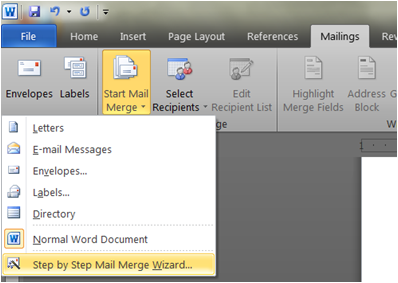
Under the Mailings Tab select
Start Mail Merge>Step by Step Mail Merge Wizard
In the Mail Merge Wizard select Letters and press
Next: Starting document
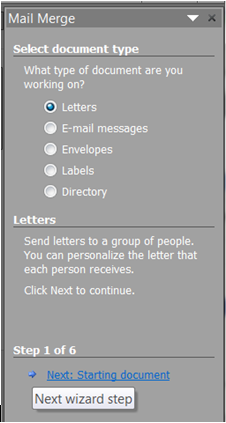
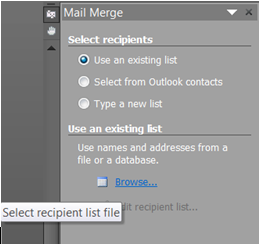
Select use the current document and press Next: Select recipients
Click on Browse and open the "MyData.doc" file that was
created using the instructions above
If Microsoft Word asks you to confirm the data source, click ok.
Close the Mail Merge Wizard.
Ensure that you are still in the Mailings Tab; you will now notice that
the Insert Merge Field drop down is active.
Click on Insert Merge Field to get a list of field names.
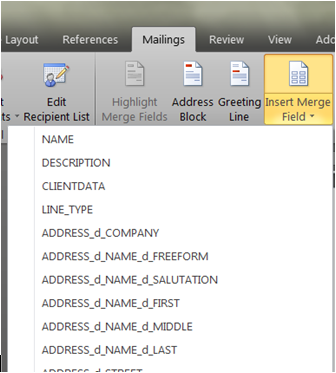
Click on a field name to add it to your document.
Continue adding field names wherever appropriate.
Add text to this document to create a form letter.
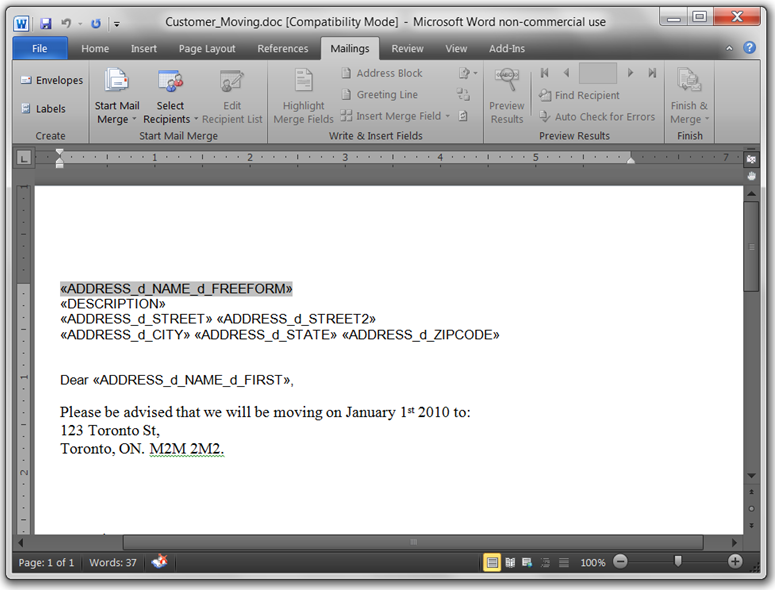
To delete a field, position the cursor on the field and press the delete key.
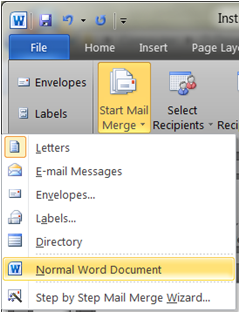
When you are finished modifying the template, you MUST revert the word document
back to a "Normal Word Document".
To do this select Start Mail Merge>Normal Word Document.
save it as a .doc document.
Save the document.