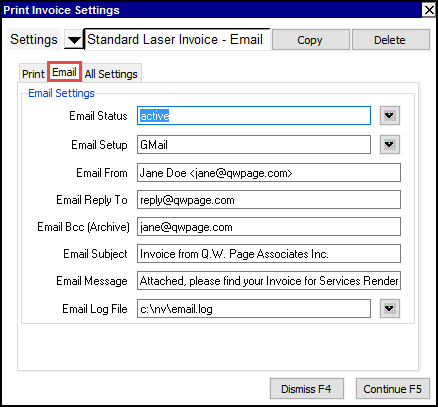
The prompt for email setup (shown below) has been updated to include signing in with your Google or Microsoft account (as opposed to using an "app password"). If your email provider in not Microsoft or Google, you will need to enter all setup information. If your provider is Microsoft or Google, select the appropriate email setup and click the button to sign in with your account.
Clicking a sign in button will launch your browser, taking you to the Google or Microsoft sign in page. Shown below are the typical steps to select your account (Gmail in this example).
Step 1
Step 2

Step 3
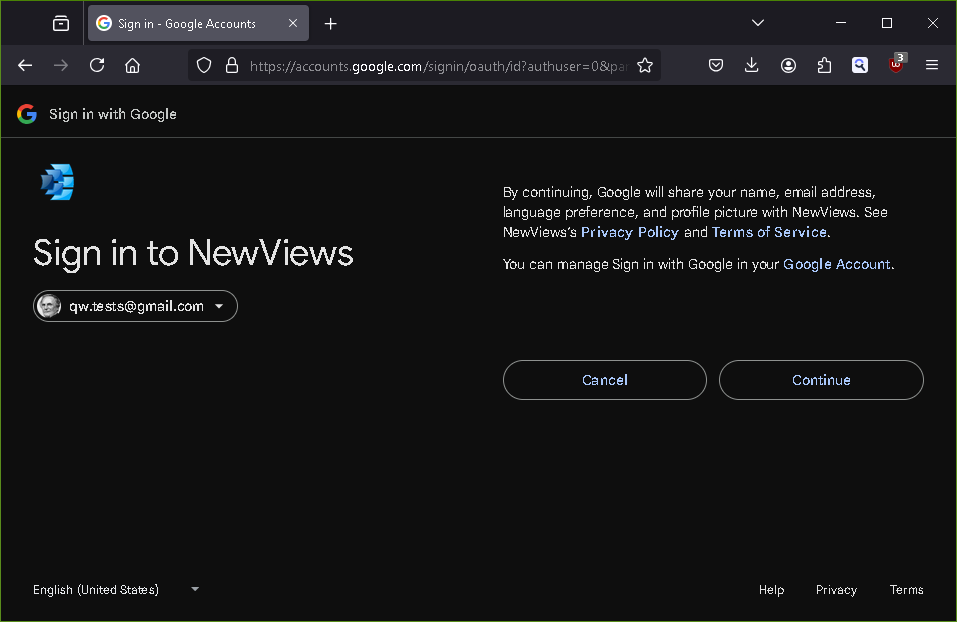
Step 4
Shown below is the final browser window. Copy the autorization code... and paste it in the Autorization Code, also shown below.
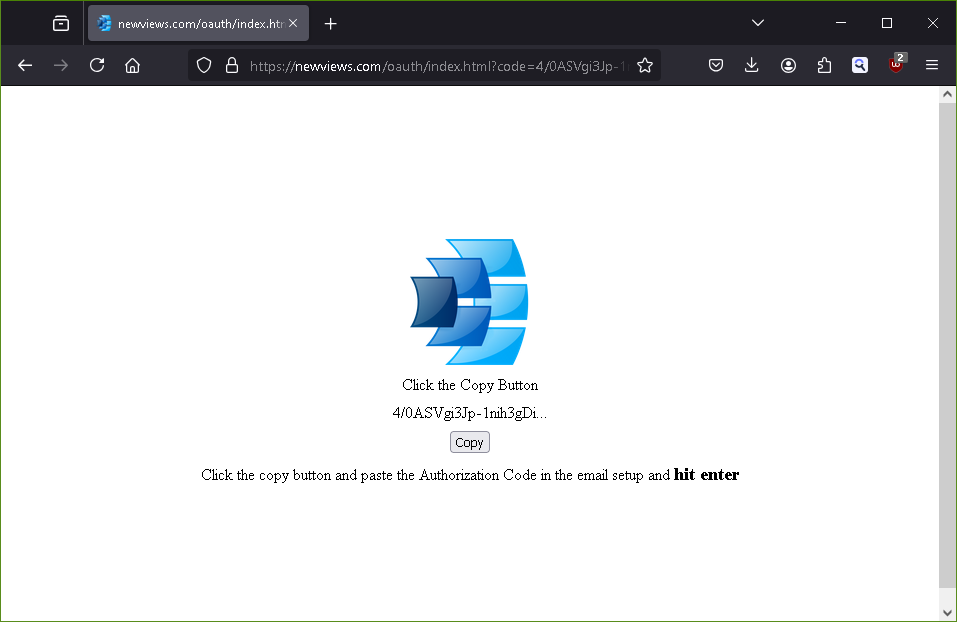
Step 5
Notice the old values have been cleared since they are no longer needed, and only the email account name remains. You are ready to start emailing with your new OAuth sign in. Note that the buttons for signing in to your email provider's account are only presented on the modern version of the prompt windows (see users display options for more).

Use the User Option, Prompt Display Style to switch between modern and classic styles.
| Outgoing mail server OAuth settings | ||
| Line | Field | Values or Comments |
| 1 | Server | will be blank after OAuth is setup |
| 2 | Port | will be blank after OAuth is setup |
| 3 | TLS enabled | will be blank after OAuth is setup |
| 4 | Username | This will be a valid email account. |
| 5 | Password | will be blank after OAuth is setup |
| 6 | Client (hostname) | will be blank after OAuth is setup |
| 7 | Queue Emails | will be blank after OAuth is setup |
| 8 | At Least One | will be blank after OAuth is setup |
| 9 | Log SMTP | will be blank after OAuth is setup |