| Payroll Report Settings | |||
| Line | Field | Value | |
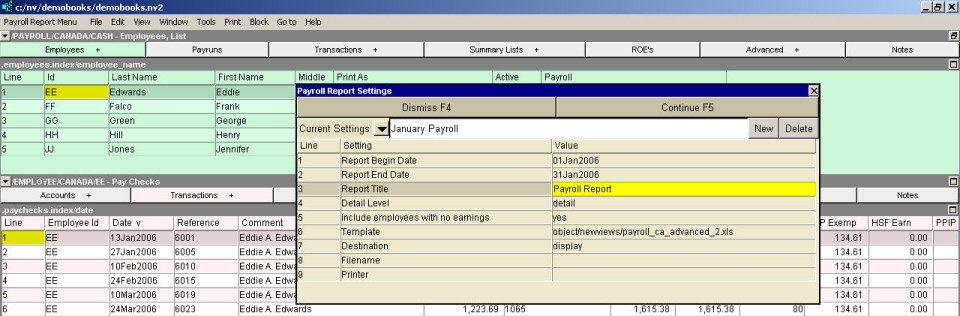
| 1 | Report Begin Date | Specifies the begin date of paychecks to be included in the report. | |
| 2 | Report End Date | Specifies the end date of paychecks to be included in the report. | |
| 3 | Report Title | The title to be printed at the top of the report. | |
| 4 | Detail Level | Specifies whether you wish to see details or a summary by employee. The choices are: | |
| summary detail detail with employee subtotals | summary - One line per employee, with the total of all paychecks printed on the line. detail - Each employee's paycheck is printed individually. detail with employee subtotals - The same as detail but with a subtotal line after each employee. | ||
| 5 | Include employees with no earnings | yes no | yes - Employees with no paychecks in the period are included in the report, but all amounts are zero. no - Employees with no paychecks in the period are not included in the report. |
| 6 | Template | The template to be used to print the payroll report. Press <F3> to select the template from an explorer (double click to select). | |
| 7 | Destination | display file printer | display - exports to Excel and opens Excel for a preview. file - sends output to the file specified in Filename. printer - sends output to the printer identified by Printer. |
| 8 | Filename | The output file name. The file type must be {".xls"}, {".xlt"} or {".pdf"}. Important see note on Output File Names options. | |
| 9 | Printer | If Destination is printer then output is sent to the printer specified here. If this field is empty then output will be sent to the Windows default printer. Press <F3> to select from a list of available printers. NOTE: To clear the Printer field Press <F3> to select from the list of printers, and click on <Cancel> | |